External Brief
- remicatchpole
- Dec 1, 2021
- 3 min read
Updated: Dec 6, 2021
This blog post will be the final progress update which consists of the construction and assembly of my model, problem solving and finishing solutions. It will explain the methods, processes, and techniques I have used to make the model, why have chosen them, and what I could have done differently.
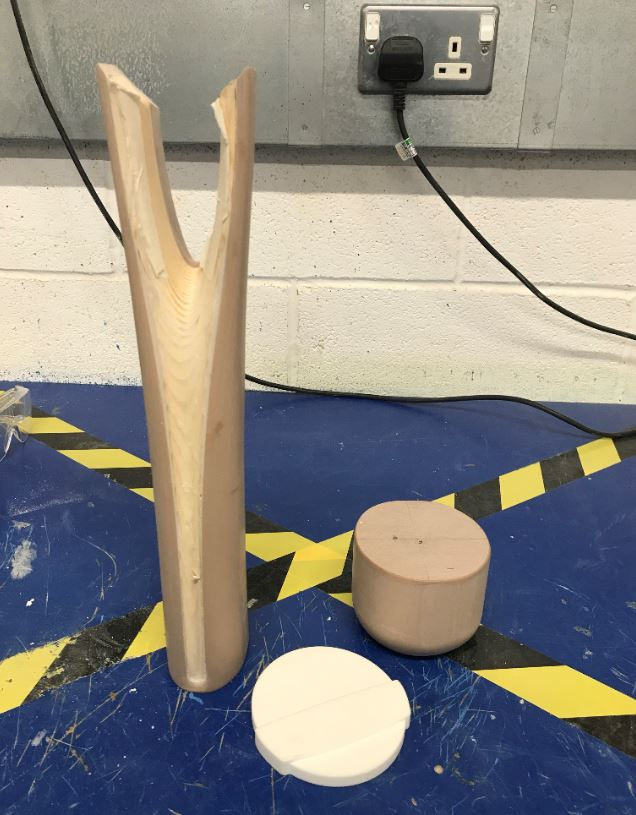
A range of processes, methods, and techniques were used for the construction of the model. This includes a mix of manually machining components on the saw, sander, lathe, and drill, CNC machining components from the CAD model on the router and nylon 3D printer, and printing the logo and font designs using both the ink jet printer and the vinyl cutter. The logo design on the handle also had to be laser cut. As well as this, I placed a piece of clear acrylic over the top of the badge lens to keep the font and logo design protected, before installing the LED lights on the inside of the badge lens, giving some lighting to the design.
The main reason I chose these processes was because they were the most efficient and effective at the time. For instance, the stem of the beer pump is a very complicated shape, which meant that manually machining it would not only take much longer, but it's dimensions would also be less accurate. Since I had the CAD data for the part, it was best for me to produce it on the CNC router. Additionally, I chose to 3D print the most complex components to save time as I had the CAD data for them too. CNC machining components also meant less hand sanding in future.
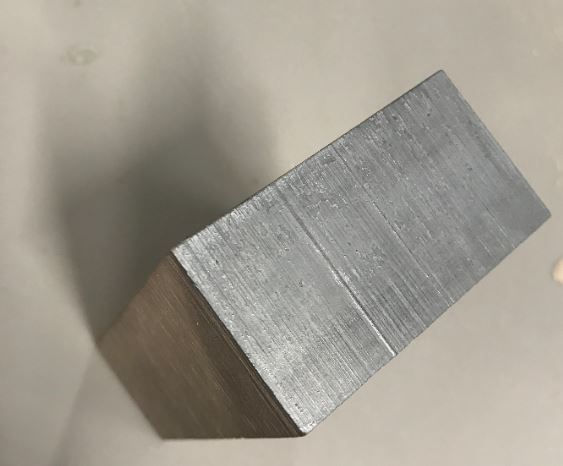
On the other hand, I was able to manually machine the rest of the components efficiently an accurately. In some cases, this was quicker as there was often a long que for CNC machining.
Using the ink jet printer, vinyl cutter, and laser cutter for the font and logo designs gave me the best quality prints with the time I had left.
An alternative method to produce this model would have been to nylon 3D print it all. This would have been done by exploding the CAD model into separate components as the model is far too big to 3D print as a whole. Although this would have been much quicker and easier, it would have been far more expensive. The font and logo design could have been vacuum formed onto the badge lens rather than printed out and placed onto it. This may have given it a cleaner finish, though it would have take more time. I could have printed out the text font design as a stencil to use to engrave into the model with a Dremel tool, but this would also have been less accurate and taken more time.
The assembly of the model however, was fairly simple as the majority of the components were made from kemiwood so I was able to use super glue to join them together. The parts made from cedar wood were then joined to the rest with epoxy resin and any remaining gaps were filled with car body filler and sanded back. The Nylon parts bonded best using thick super glue. Although this was time consuming, it was the most effective way of assembling the components into a model.
Most of the problems I faced were to do with minor inaccuracies when manually machining components. At times, It was hard to precisely cut and sand pieces to the exact dimension required, a lot of working out was needed and extra material had to be accounted for in some cases. Nonetheless, one of the problems which I was able to solve was how to achieve an accurate oval shape by drawing it from three overlapping circles.

Finally, the techniques and solutions I used to finish the model consisted of spraying a coat of primer onto all the kemiwood pieces, before spraying a coat of glossy black paint over this, then spraying the chrome paint over the top. The cedar wood pieces were also tainted and varnished, giving them a clean glazed finish.
I used the chrome paint to emulate the metallic effect on the design. Similar to the design of the model, the text font and logo were designed to adhere to an audience of 18-35 year old men, meaning that it had to be eye catching, vibrant, colourful, and within trend. I installed the LED lights to the badge lens so the model could function in both a light airy venue as well as a dark environment.
Before deciding to spray paint the chrome paint onto the model, I tested how it would look brushed on. However, I found that when it reflected in the light, you could see where it had been brushed on in some areas. Spraying it on was also a quicker process for the size of the model.


Comments